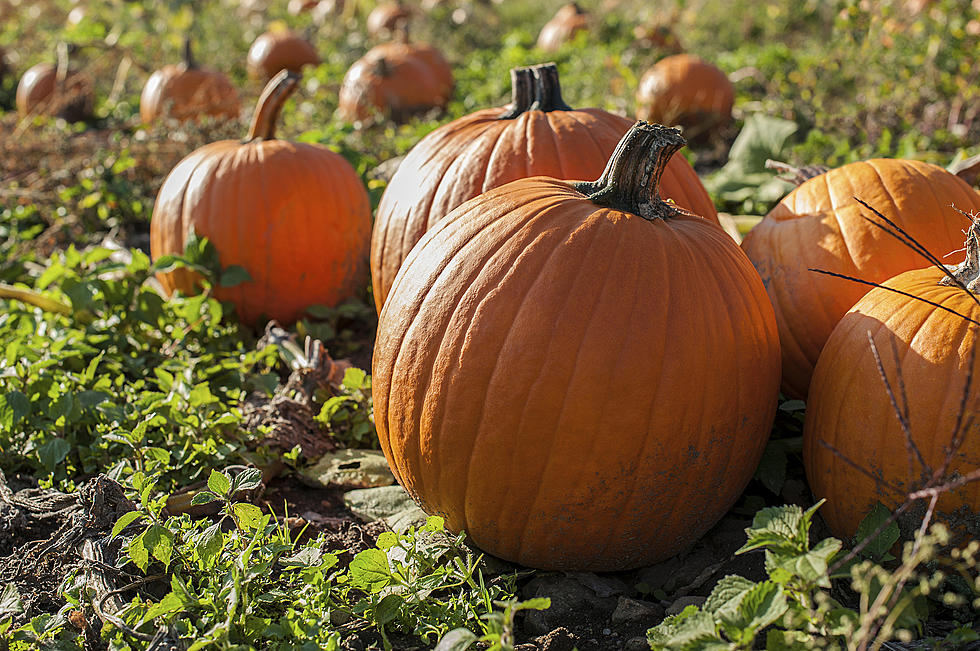
10 Things I Learned While Carving Pumpkins This Weekend
I had no intentions on doing anything yesterday. I just wanted to lay on the couch, eat junk food and binge watch "Sons of Anarchy." Those were my Sunday plans.
Around three o'clock or so my television watching was interrupted by my friends Hector and Melissa. They were on their way to my house, with pumpkins that we were going to carve. I all of a sudden had plans. Michelle made her way over and with my husband, the five of us sat staring at pumpkins waiting to see what the other person would do.
As each of us cut, scooped and deseeded our pumpkins, we learned a new tip and trick from each other on how to make the perfect pumpkin.
- Use an in expensive vinyl shower curtain. I couldn't believe how stress free carving pumpkins can be if you aren't worried about a mess. Hector had the brilliant idea of laying out at large vinyl shower curtain on the patio table for us to carve our pumpkins on. Not only was it sturdy enough for the drippy pumpkin guts, it was also easy to roll up and throw out when done.
- Grab your supplies. Nothing is more frustrating than trying to open the patio door with pumpkin guts all over your hands. Make sure to have paint, glitter, assorted knives, spoons, forks and wet towels at arms reach.
- Cut the opening with a large knife on a diagonal. Those little pumpkin carving knives are terrible. I personally bent two of them trying to cut into my pumpkin. Use a medium sized kitchen knife and carefully cut the top of the pumpkin to remove the stem. Make sure to cut the top on an inward angle. This way, once the top is replaced after carving, it doesn't sink in.
- Don't put away that big knife yet, use it for the top. After you cut the top off of your pumpkin, you will see that there are a lot of stringy pumpkin guts hanging from your fresh cut pumpkin. I was surprised to see how others removed it. Easiest way, do a nice clean cut with a knife.
- Gut scooping doesn't have to be hard. It's the worst part about a pumpkin, scooping out the guts. This is also the most important part of your pumpkin carving experience. The neater you scoop, the better your carved design will be. I like to use a large serving fork first to 'shred' the guts inside. Then, I use a serving spoon to scrape the excess from the inside of the pumpkin. Dump it over in a big pile on your vinyl table cloth so you can separate the seeds later.
- Step back and look at your pumpkin, bring scratch paper. That's what I had to do. I had no idea what I wanted to do with my pumpkins, yet I needed a plan on what I was going to create. Ideas of pumpkin designs are abundant on Pinterest, in pattern books and in your head. Take some time to design what you want to do. Keep scratch paper handy to make your ideas come to life. My husband stared at the pumpkin for an hour before he free handed his design on the pumpkin. It looked great!
- Use a dry erase marker. I used pen to mark out my design on my pumpkin, so did Melissa. I still have pen on my pumpkin. My husband used a dry erase marker, he's so smart, which was easy to wipe off the pumpkin when it was completed.
- Get creative! There are so many ways you can decorate your pumpkin. Michelle spray painted hers yellow to make an emoji pumpkin. She even used red construction paper to make a heart. Hector melted crayon wax with a long stick lighter to make blood. Melissa and I used glow in the dark paint to embellish our pumpkins.
- Make them last longer. Use a teaspoon of bleach mixed with a quart of water and spray it on your pumpkin. This will help them from rotting too soon.
- Light 'em up. Years ago I found battery powered tea lights at a craft store on a huge discount. I snatched them up and they work perfectly in pumpkins! Safe for all ages!
What tips and trick do you have to make carving more fun, easy and family friendly? Share them in the comments below.
More From 96.7 The Eagle